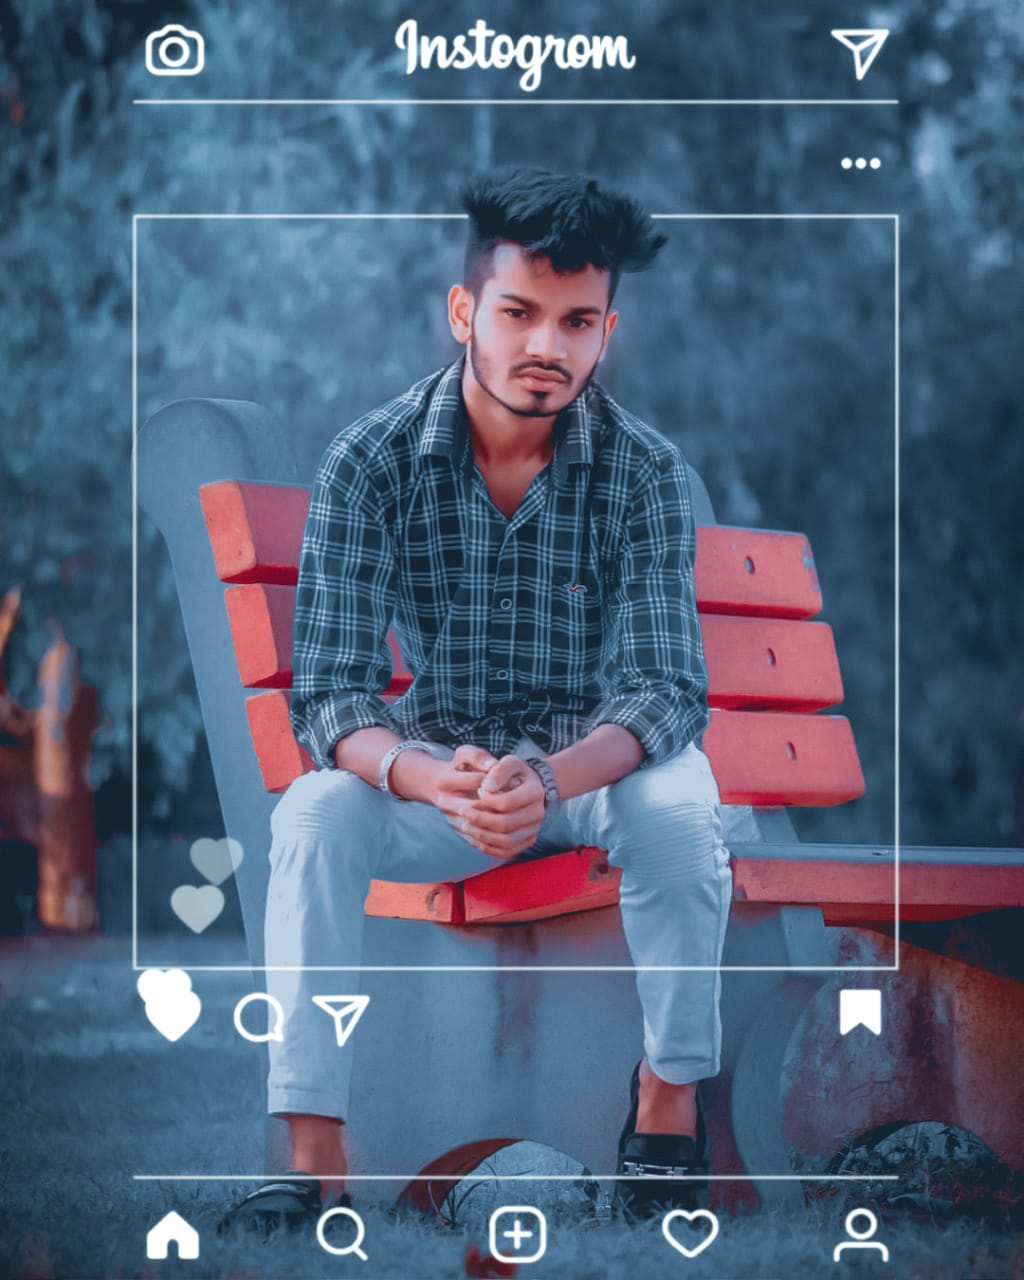
Hey Lovely People, Hope you are doing absolutely well. So today's topic is little bit similar to the previous Instagram Creative Photo Editing, actually, the title of the article is the same but the editing done in this post is very different and very unique. Today we have Instagram Creative Photo Editing very different from the previous Instagram Photo Editing which is done by using the mobile snapseed app with easy process. So let's get started.
About the Instagram Photo Editing
Instagram Photo Editing is that type of editing in which we edit any type of photo into an Instagram profile or into like count, into main page type, and many more by adding all the different Png.
What we have in Edited Photo
Here the thumbnail has two photos having the Instagram Like Page, which means both the photos are edited the same, the model and the design of the photos are different. In the left photo, our model is sitting on the grass by folding his right leg and left leg straight, his right hand is like he is holding his hair and another hand is lying on the left leg. And on the other side, the model is sitting on the bench by putting both the hand in front.
What we used to Edit
We have used the mobile snapseed app for creating the Instagram Creative Photo, process of editing is very easy and simple. This app is very easy to use, To learn to edit you can watch my videos on youtube channel AF Edit, there are so many videos on youtube about using the snapseed app and editing photo on it.
Some Steps to Edit Your Photo
- Open the Snapseed app on your phone.
- If you don't have it, then get it from Google Play Store.
- After that get the Png used for editing.
- Open your photo in the snapseed app from the add photo section.
- After that turn the color of the photo into Baclk&white.
- Then go to the edit stake tool and tap on the pencil icon there.
- Remove the Blac&White color from your face and body.
- Then after that, go to the white balance setting.
- Then shift the color to the same we have done from white balance.
- Then after that, go to the double exposure tool and add the Instagram PNG.
- Next steps you can watch on my youtube Channel AF Edit.


ReplyDelete.
Post a Comment