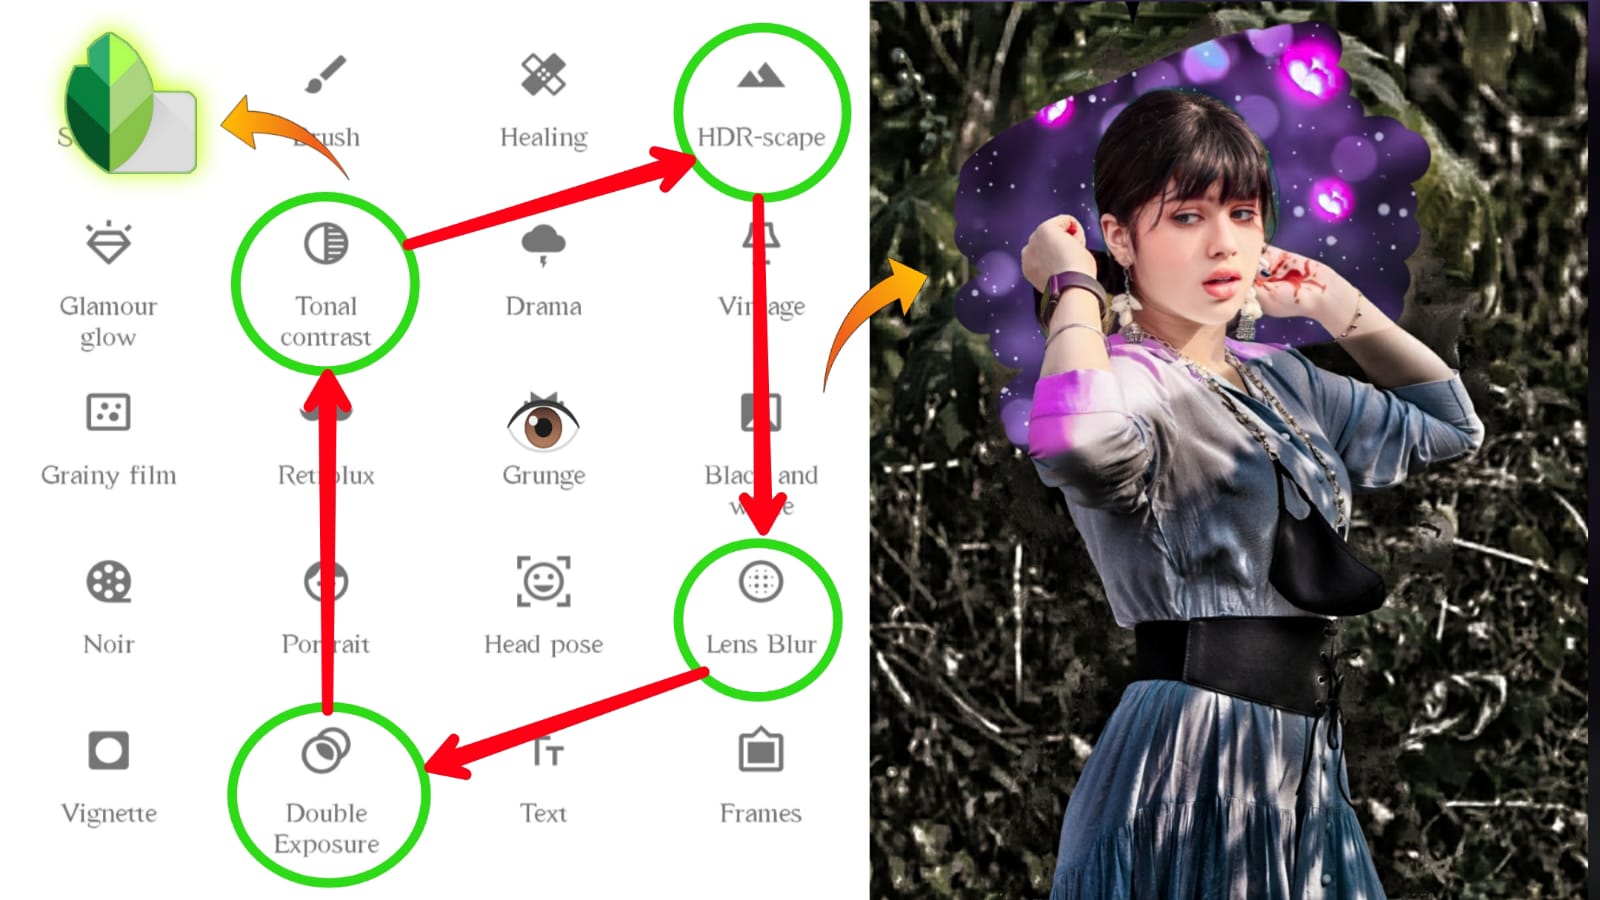
Hello folks, how are you all doing, I hope you all are performing extremely well. So guys as today is Friday and also the week is ending and in this current week I haven't given you any creative photo editing, so today I thought to give you the best creative photo editing for this week, and now I am here in front you all guys with the best creative photo editing trick. This photo editing trick is made by using the snapseed app and the mobile lightroom app. Here in this photo editing trick I have changed the background of the simple photo into the Dream City background and also I have used the lightroom app for sing the lightroom preset. In my last creative photo editing trick I have created the Snapseed Creative Skeleton Photo Editing, where I have used the skeleton background for editing the photo and also there I have used the lightroom app for creating preset, you can learn how to create preset by watching that post also you can take the skeleton photo background from there, just click on this link.
About the thumbnail photo I have used
In my today's Dream City Photo thumbnail you will find that I have added two photo and both the photos are similar with the one another, only the difference that you can find is the editing. On the left side you will find the non-edited photo and on the right side you will find the edited photo. the non- edited photo is looking very dull because of the color quality and the background on that photo is also not looking good. Here the pose of the model is amazing which helped me to create this dream city photo editing easily. On the right side photo, which is edited one you will find the background is totally different from the non-edited side.
Which app I have used
As always for creating this dream city photo editing you will need the snapseed app and lightroom app. I have used the sanspeed app for changing the background of the photo that edited and also for some color adjustments, and a I have used the lightroom app for pasting the settings of preset on the photo that I have edited.
How you can Creating the Dream City Photo Editing
- To create this dream city photo editing you will need the apps that I have told you in the previous paragraph.
- Next, you have to get the Background and Preset that I have provided you in this post.
- Now open your snapseed app and add the background first and then go to the double exposure tool and add the photo that you want to edit.
- Now adjust it the same as I have done.
- After that go to the edited stake tool and remove your main photo background.
- If you have already remove your background from somewhere then no need to go to the edit stake tool.
- Now adjust some color If required.
- Then share your photo into lightroom app to paste the setting of the preset.


Post a Comment